
Difficulty
Easy
Steps
6
Time Required
00:10:00

In Progress
This guide is currently being written. Reload periodically to see the latest changes.
Quiz
0
-
-
Acquire the needed Arduino ,MPU6050 (or a variation of this model), and prepare yourself for an adrenaline-fueled coding experience. You will also need 5 male to female jumper wires, a usb to Arduino cord, and an Arduino Uno or Mega.
-
-
-
Wire the super Arduino (MPU6050) to your Mega or Uno using the 5 jumper wires.
-
If you're using a mega the wiring is slightly different.
-
Both Arduino wiring formats are shown in the pictures.
-
-
-
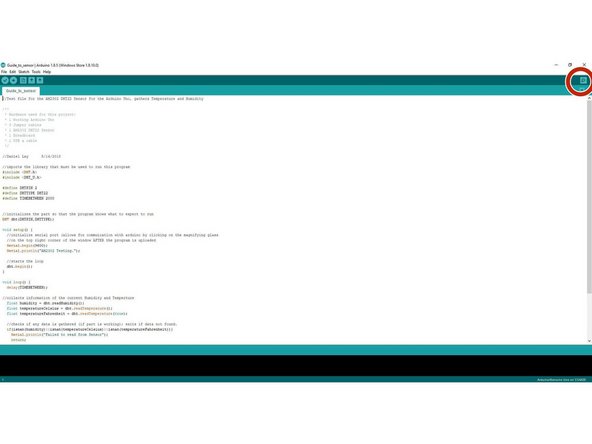
Click this link and look at the sample code: https://playground.arduino.cc/Main/MPU-6...
-
The code before the "void setup" establishes a connection between the Arduino and Mega , which allows for the values outputted by the Arduino to be received.
-
The code within the setup begins the transmission of information from the Arduino to the Mega. Wire. is used to "talk" to the Arduino.
-
The "void loop" segment of code is a continuous cycle that has the Aruino read the 7 values it is meant to and then spits out those numbers to the Serial Monitor. Serial.print("blah blah blah") just prints whatever is in quotations.
-
-
-
Now it's your turn to try some coding!
-
Follow this link to download Arduino if it is not already on your compuer: https://www.arduino.cc/en/Main/Software
-
Once downloaded, open the application and continue to the next step.
-
-
-
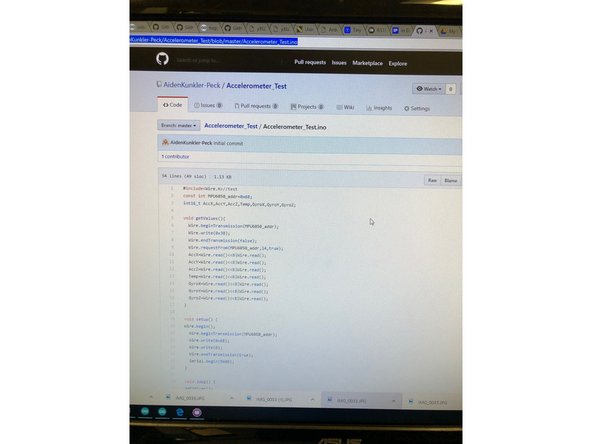
Get some of the source code from the previous link and get started with testing out the part.
-
Here is a link to some working code for the Arduino: https://github.com/AidenKunkler-Peck/Acc...
-
Congrats! You just coded an Arduino!
-


Cancel: I did not complete this guide.
2 other people completed this guide.