Difficulty
Moderate
Steps
4
Time Required

In Progress
This guide is currently being written. Reload periodically to see the latest changes.

User-Contributed Guide
This guide is not managed by the site's staff.
Quiz
0
-
-
Open Arduino IDE, select "Tools", and change "Board" to the correct board--in this case the Arduino Nano.
-
Specifically for the Arduino Nano, boards manufactured before January 2018 use the "old" bootloader, which needs to be selected under "Processor". If you're not sure, try both.
-
-
-
Open the example "Sweep" application under File > Examples > Servo. With your Arduino plugged into your computer via USB, click the right-facing "Upload" arrow in the upper left hand corner of the IDE.
-
-
-
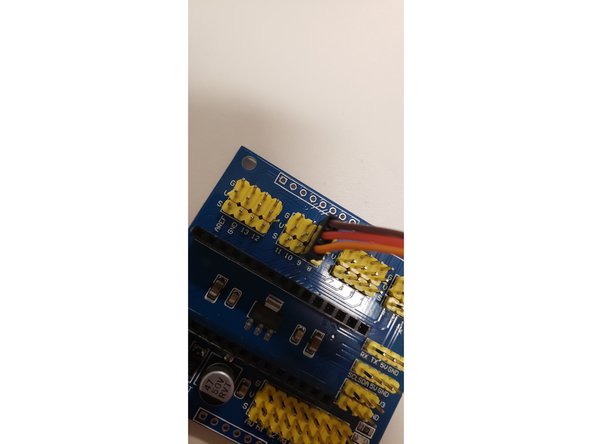
Servos have three cables bundled into three joined female pinheads. These three cables are ground, which is brown or black, power, which is red, and signal, which is orange
-
Connect the cables to the row for pin 9 on the breakout board. MAKE SURE that the ground/brown wire is aligned with the "G" label on the board, and that the orange/signal wire is connected to "S" on the board.
-
-
-
Connect the breakout board and the arduino to power. If the servo doesn't immediately start running, something is wrong. Good luck!
-