Difficulty
Moderate
Steps
6
Time Required
00:02:00

User-Contributed Guide
This guide is not managed by the site's staff.
Quiz
0
-
-
Included with this guide are four 3D models that need to be printed. Each model needs to be printed twice, one for each side of the wheelchair.
-
The outer box and leg should be printed out of a non-flexible material, such as PLA, while the inner box and foot should be printed out of a flexible material, such as NinjaFlex.
-
-
-
Insert the inner box into the outer box so it fits snugly, and fit the foot into the bottom of the inner leg.
-
-
-
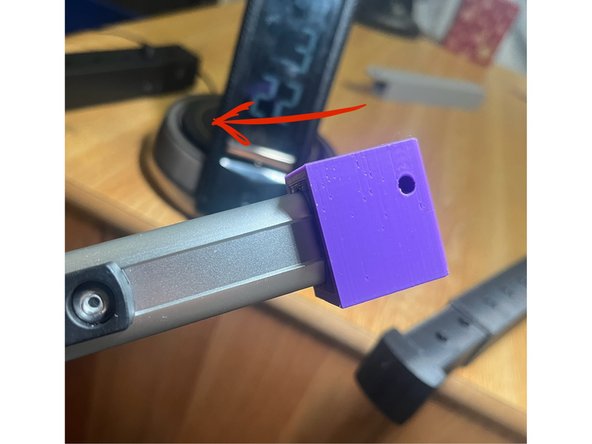
Place one of the inner/outer box combinations on the end of one of the front pylons of the wheelchair so that the hole in the inner box fits over the pylon.
-
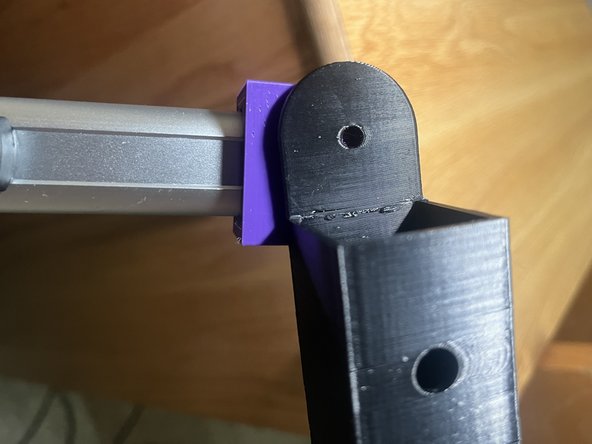
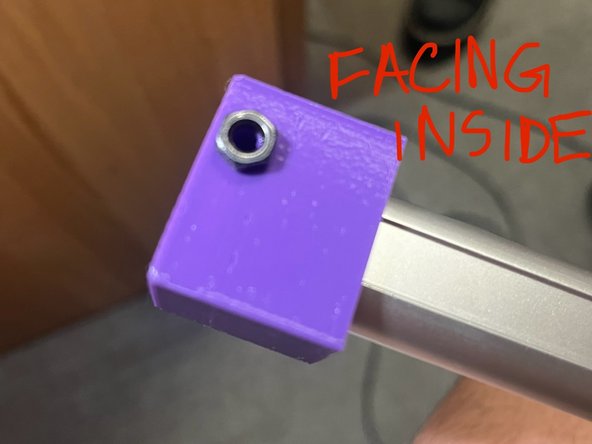
The hole in the top of the outer leg should then be aligned with the hole in the outer box, on the side away from the center of the wheelchair, so that the side of the outer leg with the hole faces inward.
-
-
-
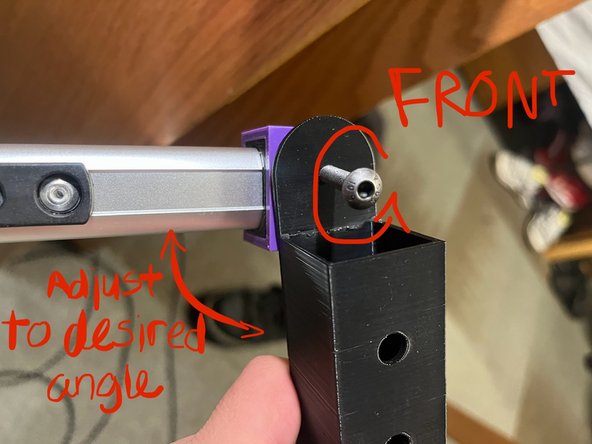
Adjust the angle as needed until the desired height above the ground is reached. Then, place the nut on the outer box hole on the side closer to the center of the wheelchair and place the screw through the hole in the nut. Finally, tighten the nut until the outer leg is securely in place.
-
-
-
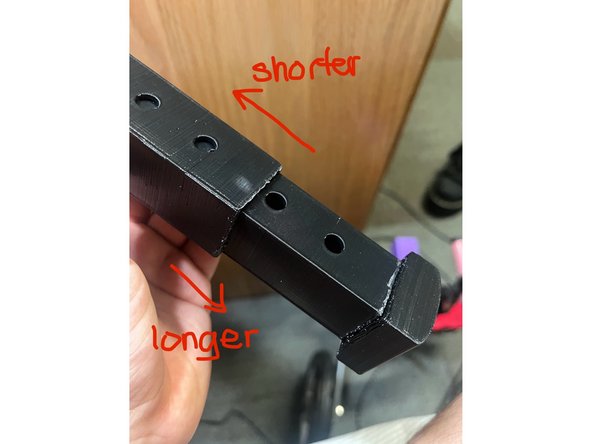
Move the inner leg inside the outer leg until the desired length is achieved. Place the pin through the hole in the inner leg to secure it in place.
-
-
-
The screw can be unscrewed to adjust the angle.
-
The pin can be removed to adjust the length.
-