
Difficulty
Easy
Steps
6
Time Required
48:00:00
- 3D Scanning for Broken Turtles 6 steps

In Progress
This guide is currently being written. Reload periodically to see the latest changes.

User-Contributed Guide
This guide is not managed by the site's staff.
Quiz
0
Introduction
CW: Blood/Injury. So you have an injured turtle. Considering just how majestic and amazing these creatures are, both in nature and outside of it, this must make you pretty sad. Well it makes us here at Team Cowabunga pretty sad too! That is why we’ve dedicated ourselves to developing this open source documentation for a DIY prosthetic, specially fitted to your animal’s needs. In this guide, we will discuss identifying injury, scanning, reconstruction, and 3D printing techniques to help a turtle in need.
-
-
Look at the turtle's shell and view if a full reconstruction is necessary or a partial reconstruction.
-
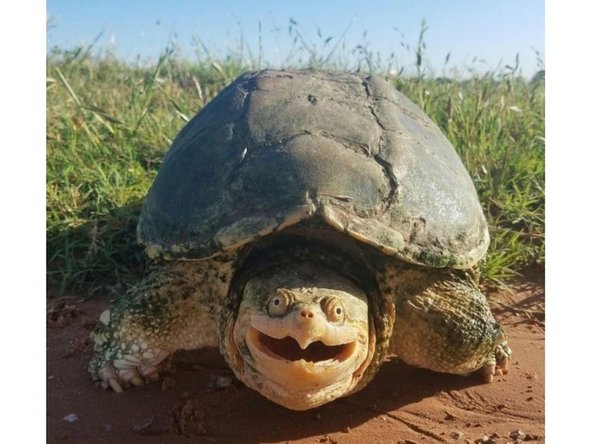
First, what makes up the anatomy of a turtle shell? Unlike hermit crabs who’s shells are an interchangeable home, a turtle’s shell is actually connected to its body and skeleton.
-
The carapace is the outermost part of the shell. This is what protects the turtle’s vertebrae and ribs. A scute is an individual plate on the turtle shell, almost like a puzzle piece of the shell.
-
Generally, turtle shell injuries occur in the carapace, which can be reparable with a 3D printing process if the turtle’s vertebrae and limbs are unaffected. It is very important that you properly evaluate your turtle’s injury, as some injuries may not be reparable with 3D printing and require serious medical attention.
-
-
-
Have a 3D Scanner on hand. New models of iPhones have this technology built into them
-
Position the animal on a flat and solid-colored surface
-
Make sure lighting is even with no reflections
-
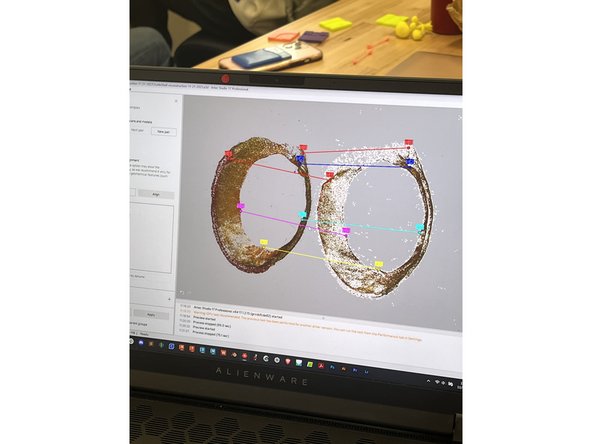
With your 3D Scanner, go around the turtle and capture as many angles as possible very slowly in order to get a high quality 3D scan.
-
Repeat the process until the data set is complete.
-
Interpolate until the scan models overlap and remove any outliers.
-
-
-
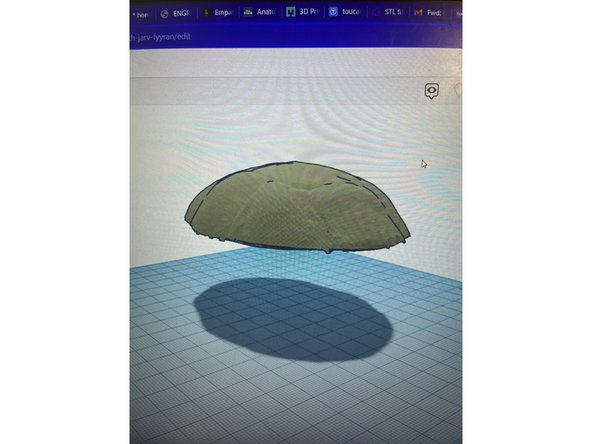
Upload the scanned file as an .stl file to any CAD software. Our team used TinkerCAD and Fusion360, but Rhino and others work too.
-
If the scan is high quality and has a lot of triangles, you can decimate them in MeshLab in order to make the file smaller.
-
-
-
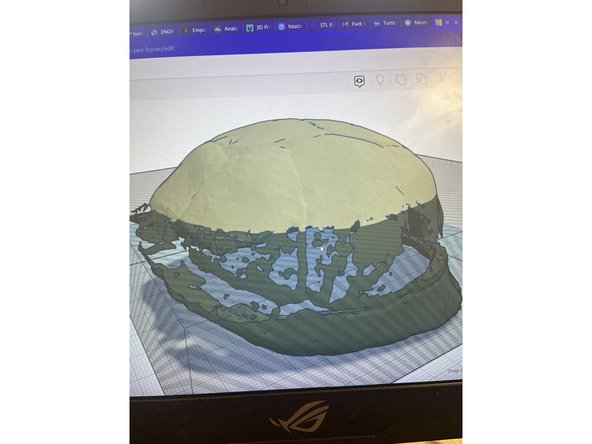
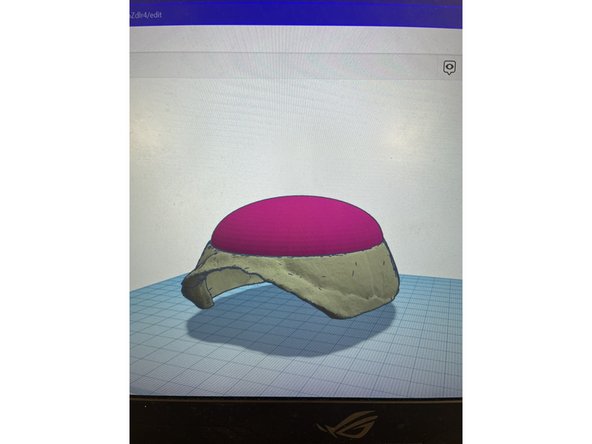
Once the file is in your CAD Software, you have two options:
-
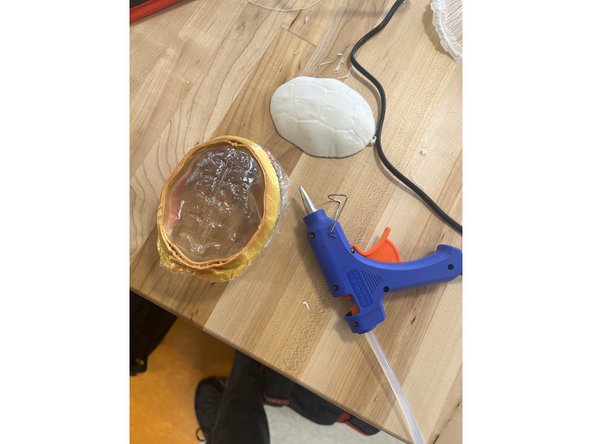
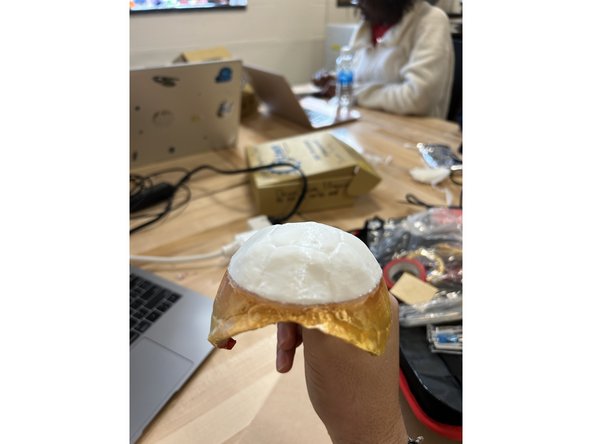
The first is filling in the rough structure with an assortment of polygons, like partial spheres, in order to fill the broken shell.
-
The second is to take Open Source scans of the same species of turtle and using your model to make holes in the open source. This will allow you to create a full shell.
-
-
-
Save your file from the CAD program as an .stl and import onto a CAM software, which is dependent on the model of 3D printer you use. We used PrusaMinis and Raise3D E2s.
-
Set the part of your shell to print! We recommend using Nylon or other Carbon Fiber Filaments, as it was the strongest during force testing.
-
When that's done, collect your print and use a safe adhesive for the turtle. We used hot glue guns, but bone cement is also useful. If you have access to more advanced tools, please use those. The safer, the better!
-
-
-
Your turtle should be happy and good as new. Check with a local vet and/or rescue clinic for more information about post trauma care for turtles.
-


Cancel: I did not complete this guide.
One other person completed this guide.