Difficulty
Easy
Steps
7
Time Required
08:00:00 - 16:00:00

In Progress
This guide is currently being written. Reload periodically to see the latest changes.

User-Contributed Guide
This guide is not managed by the site's staff.
Quiz
0
Introduction
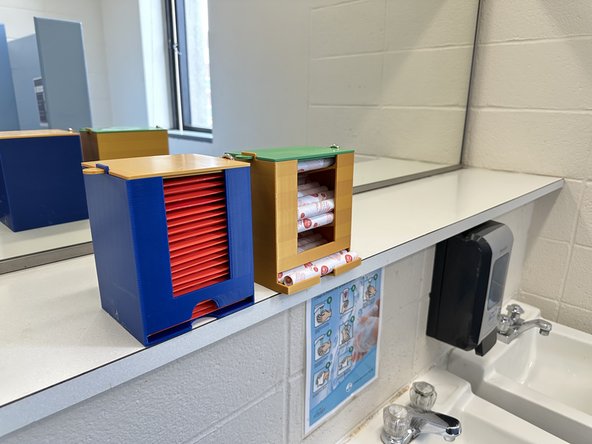
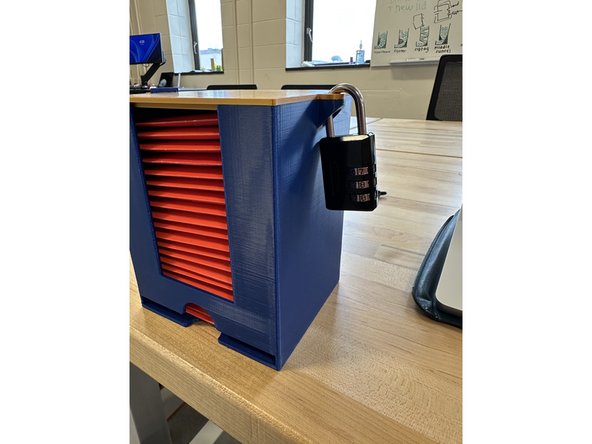
We updated the design of menstrual product dispensers on campus to make them more convenient and easier to restock. Our design can be adapted for various installation methods directly on tile walls or stall doors as well as different menstrual product brands.
Tools
Parts
-
-
Download files from Thingaverse.
-
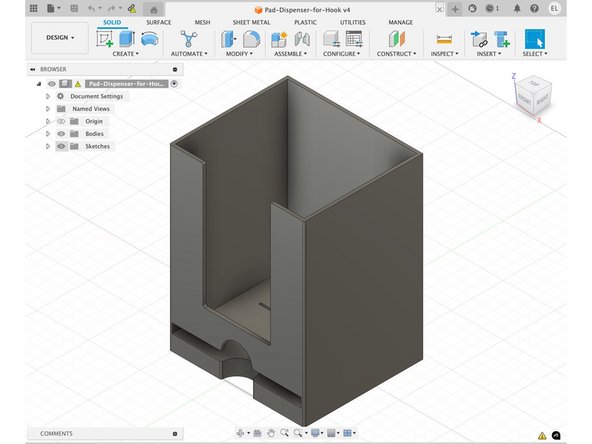
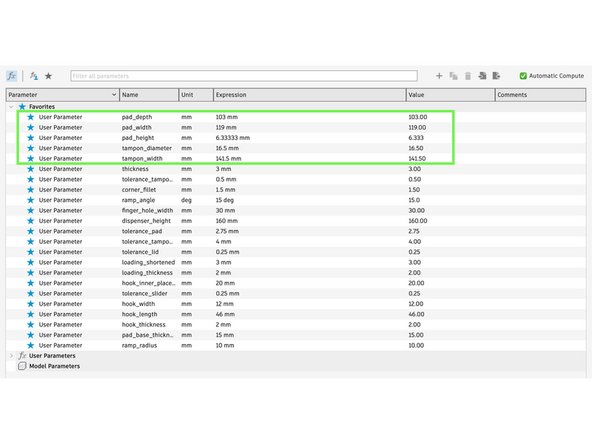
Adjust parameters of files in Autodesk Fusion if printing for non-Aunt Flow products.
-
Export as a .3mf file.
-
-
-
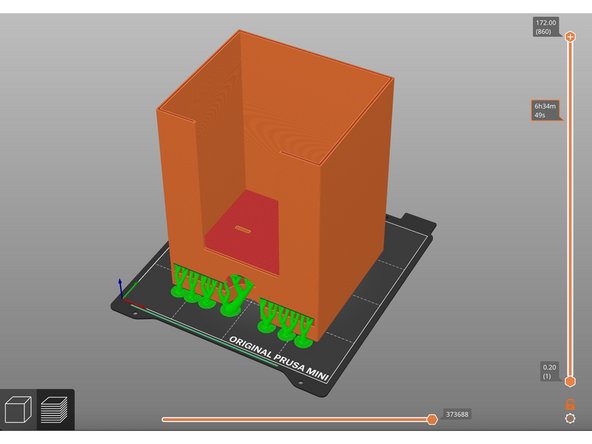
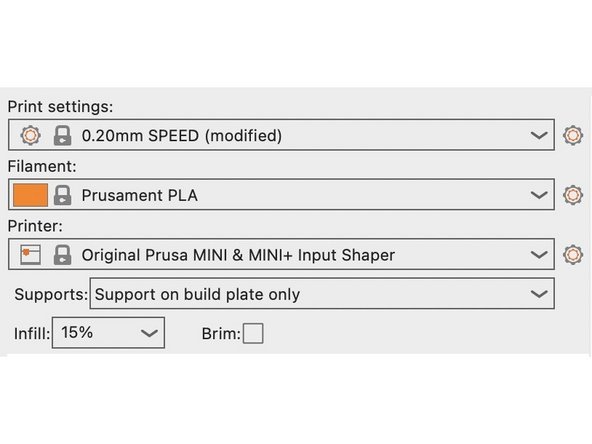
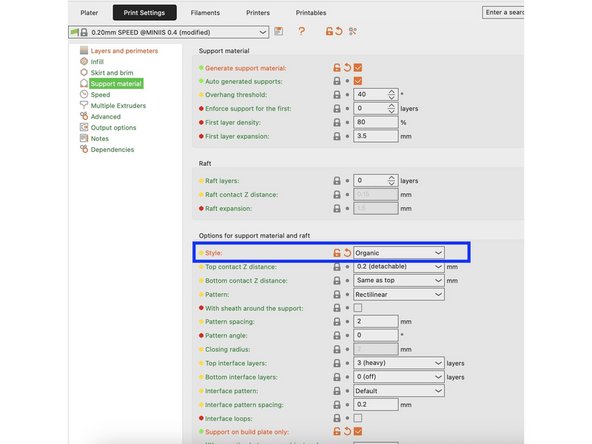
Open a 3D print slicing software (like PrusaSlicer).
-
Adjust slicing settings:
-
Speed: 0.20mm SPEED
-
Filament: PLA
-
Supports: Organic, Everywhere
-
Infill: 15%
-
Save sliced file as a .bgcode file.
-
-
-
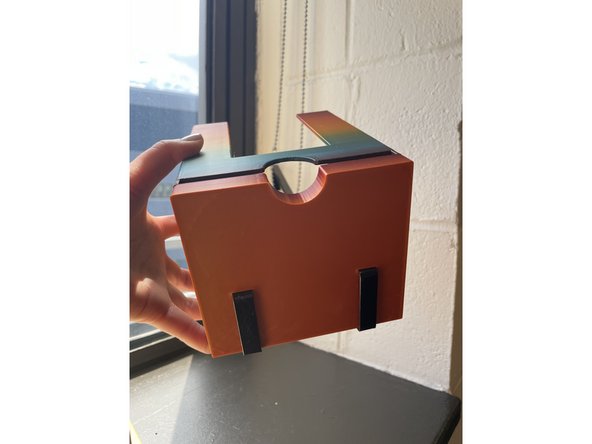
Remove print supports using pliers.
-
Hanging Installation: Attach 2 hooks into the slots on the bottom of the dispenser.
-
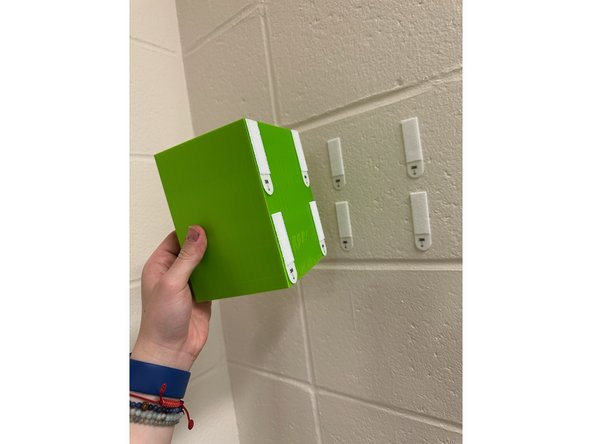
Direct-to-Wall Installation: Peel and stick 4 pairs of command strips to the back of the dispenser.
-
-
-
Print a loading tool to make refilling dispensers even easier.
-
Adjust slicing settings:
-
Speed: 0.20mm SPEED
-
Filament: PLA
-
Supports: None
-
Infill: 15%
-
Save sliced file as a .bgcode file.
-
Cancel: I did not complete this guide.
One other person completed this guide.