Difficulty
Moderate
Steps
6
Time Required
00:30:00
- Replace Ender 3 Heater Block 6 steps

User-Contributed Guide
This guide is not managed by the site's staff.
Quiz
0
-
-
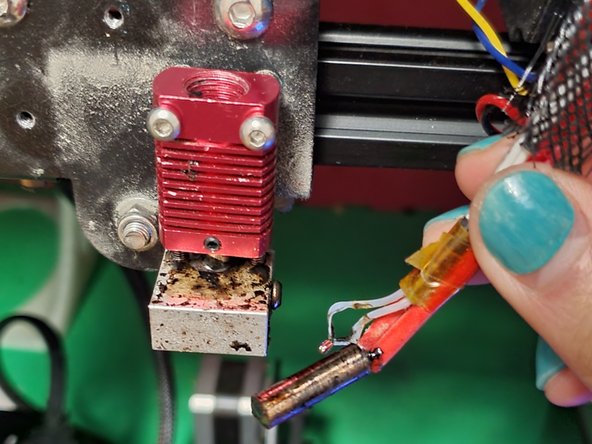
We only need the hardware, so remove the included wiring and pneumatic coupling.
-
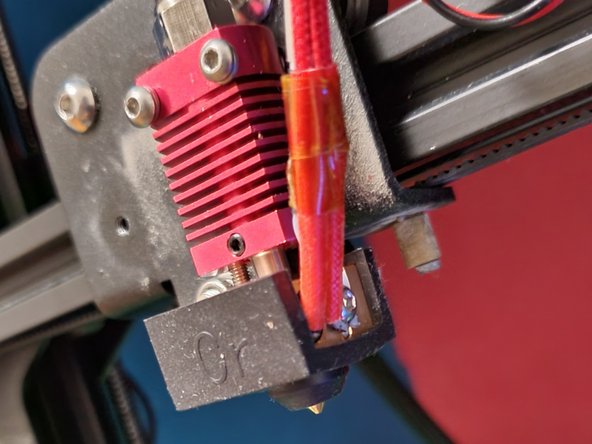
Unthread the attached coupling and pull off the heat sock to reveal the screws holding the assembly together
-
Loosen the two indicated screw without removing them until the electronics slide out of their holes smoothly. Do not retighten
-
-
-
Preheat your printer to 200-230 degrees celsius
-
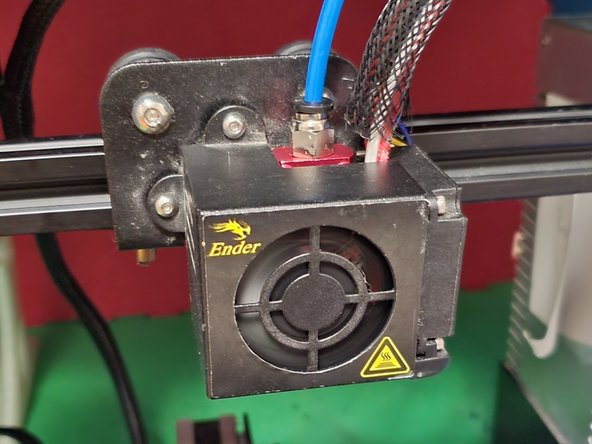
Remove the two screws on the fan cover, and set it aside on the gantry
-
Consider everything under the cover to be hot until you set the printer to cool down
-
Unscrew the pneumatic coupling and pull off the heat sock
-
-
-
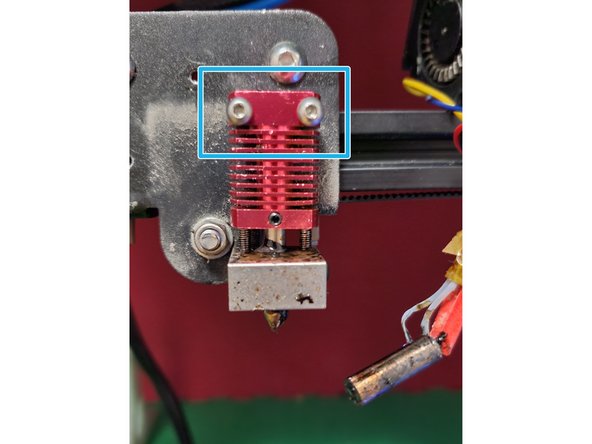
Repeat step 1 on the old heat block, loosening the indicated screws just enough that the electronics are loose in their slots
-
Set the printer to cool down to prevent a thermal runaway when you remove the electronics
-
Keep in mind that everything is very hot at this point
-
Hold the electronics by their insulation and gently wiggle them out of the heater block
-
-
-
The old heater block is probably still hot enough to burn you at this point, make sure to hold onto it with something that isn't your hand
-
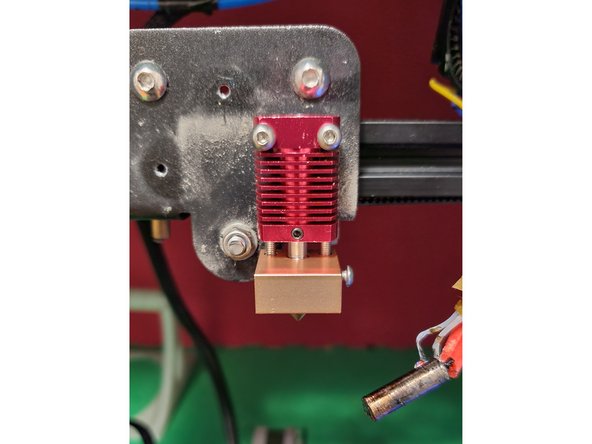
Remove the two screws holding the old block to the frame, and use them to attach the new one
-
-
-
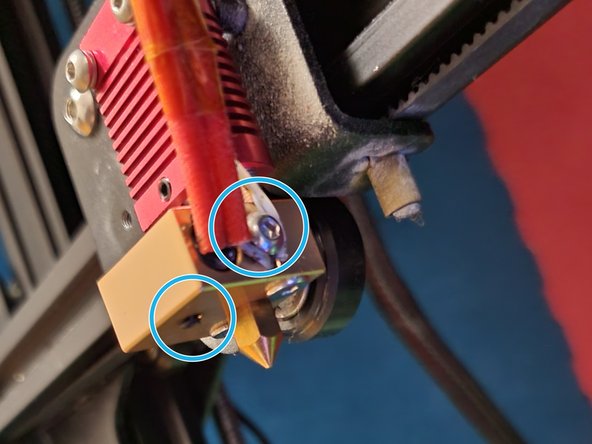
Holding them by the wire, slide the hopefully cool electronics into the new heater block
-
Using the smaller Allen key, make sure the thermistor is sitting in its slot before tightening
-
Tighten both screws just enough to hold the cartridge and thermistor wires in place; pull on the thermistor wire just enough to keep it under the screw head while tightening
-
-
-
Reattach the pneumatic coupling and heat sock, making sure that the Bowden tube is pushed all the way into the block to sit snuggly against the nozzle.
-
Reattach the fan cover
-
Make sure to relevel the print bed before resuming printing, as slight differences in the placements of the heat sinks and nozzles might change the print height
-