
Difficulty
Moderate
Steps
10
Time Required
01:00:00 - 02:00:00

In Progress
This guide is currently being written. Reload periodically to see the latest changes.

User-Contributed Guide
This guide is not managed by the site's staff.
Quiz
0
Introduction
Our group made this hand during our intro engineering class. In an early class we built a "Phoenix Unlimbited" hand, and loved the design. Later on in the year we thought about how we could better optimize this already excellent design. The two main features we felt were lacking were considerations for weight distribution, and individual finger motion. Weight distribution is important because if one side of your body bears to much weight, then you will lean the other way to try to balance the weight. Think about carrying a heavy suitcase, if you're holding the luggage in your right hand, then you will lean to the left. This is harmless momentarily, but if this is something like a prosthetic arm that is worn daily, then it can lead to a righting reflex (correcting reflex), where a hip will move one way, a shoulder down, and the entire spine will become a mess. Eventually this can lead horrible misalignment, which causes uneven wear and tear, which causes degenerative arthritis on the spine bearing more weight according to Wolf's law. After decades of misalignment it may cause choking of the spinal cord (Canal Stenosis). The effects of Spinal Stenosis is pain in the lower back and buttocks', numbness/cramping in legs, bowel problems, weakness in a foot that causes the foot to slap down when walking, and loss of sexual ability. We thought about how we could best implement this, and cam up with a few basic designs.
Tools
Parts
- Rigid Fingertip Pin (A) × 3
- Short Knuckle Pin (B) × 2
- Long Knuckle Pin (C)
- Thumb Tip Pin (D)
- Thumb Knuckle Pin (E)
- Wrist Pins (F) × 2
- Fingertip Pin Flexible (G)
- Wrist Caps (H) × 2
- Tensioner (I)
- Tensioner Pins (J) × 3
- Palm (K)
- TPU Thermo Gauntlet (L)
- Thumb Phoenix Phalanx (M)
- Rigid Finger Proximal Phalanges (N) × 3
- Rigid Fingertips (O) × 3
- Thumb Fingertip (P)
- Wrist Bottle Weight (Q) × 2
- Wrist Water Weight Caps (R) × 3
- Solid Wrist Weight (S) × 2
- Hand Water Weight (T)
- Solid Hand Weight (U)
- Flexible Fingertip (V)
- Flexible Finger Phalange (W)
- Flexible Finger Washer (X)
- Tasty Treat (Z)
- Phoenix Assembly Kit (α)
-
-
Connect Rigid Finger Proximal Phalanges (N) to Rigid Fingertips (O) using the Short Knuckle pins (B).
-
Connect the Flexible fingertip (V) and the Flexible Proximal Finger Phalange (W) using the Flexible Fingertip Pin (G), and top it off with the Flexible Finger Washer (X)
-
Connect the Thumb Fingertip (P) and the Thumb Proximal Phalanx (M) using the Thumb Tip Pin (D)
-
-
-
First connect the completed ring and pinky fingers to the knuckles on the hand (K) using the Short Knuckle Pins (B)
-
Attach the pointer and middle fingers to the hand using the Long Knuckle Pin (C)
-
Lastly, connect your thumb to the hand using the Thumb Knuckle Pin (E)
-
-
-
Self-explanatory, but sometimes when you focus on a task too long you make more mistakes, and get frustrated. Take a break to recharge your mind and body!
-
-
-
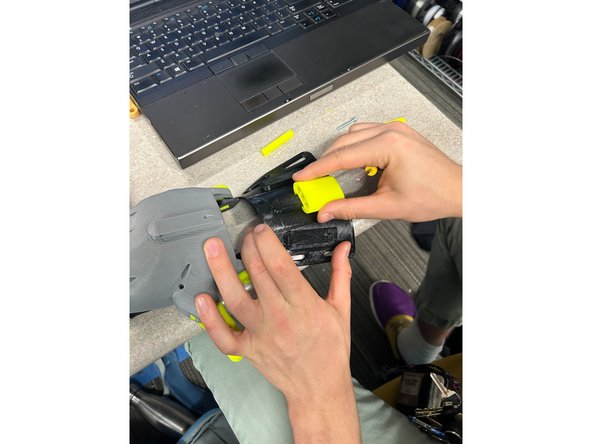
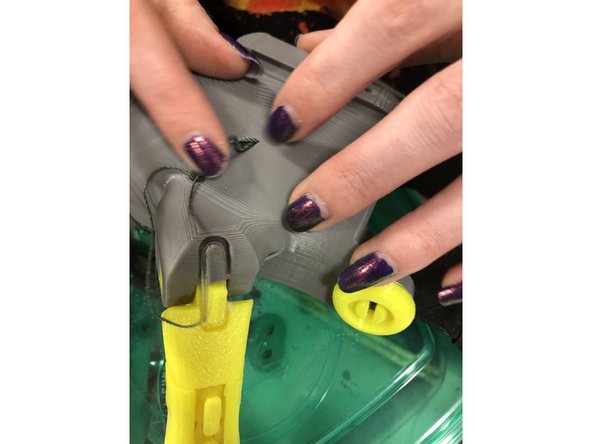
Attach the TPU Thermo Gauntlet (L) to the hand (K) using the Wrist Pins (F) and the Wrist Caps (H)
-
-
-
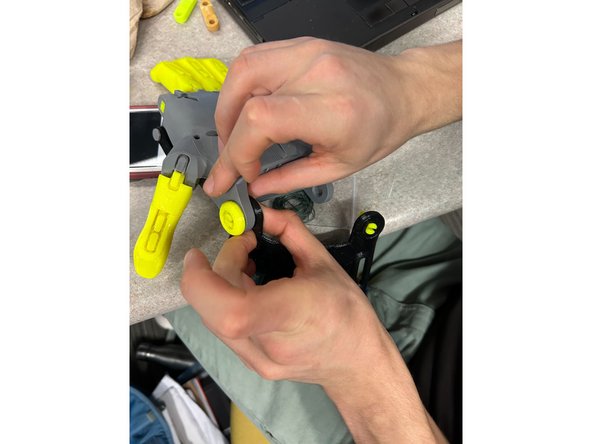
Slide the Tensioner (I) onto the gauntlet with the square holes facing towards the hand, and the circular holes facing the other way. You will know the tensioner is secure when it clicks in to place.
-
Once the tensioner is securely in, slide the tensioner pins in with the holes in the pins at the top, and the holes facing to the side.
-
Then, take a screwdriver and screw the screws in 80 percent of the way, make sure the screw feels like it is the right fit before preceding.
-
-
-
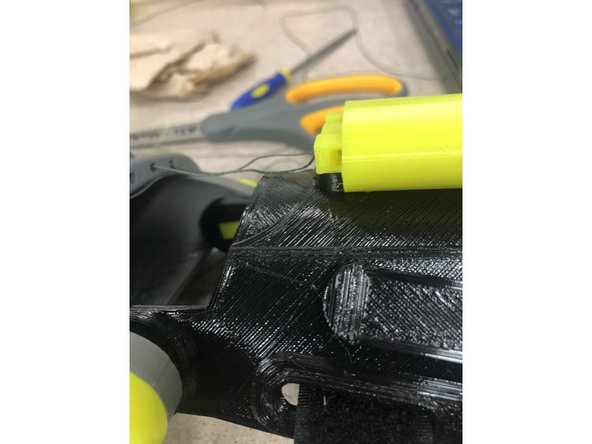
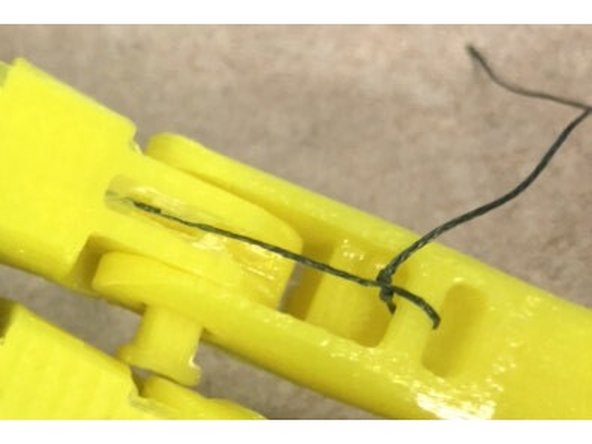
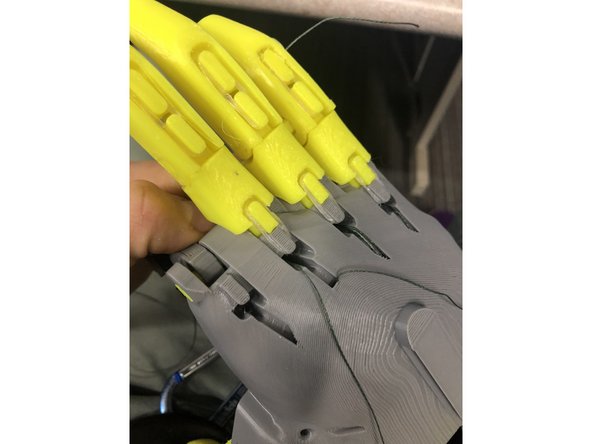
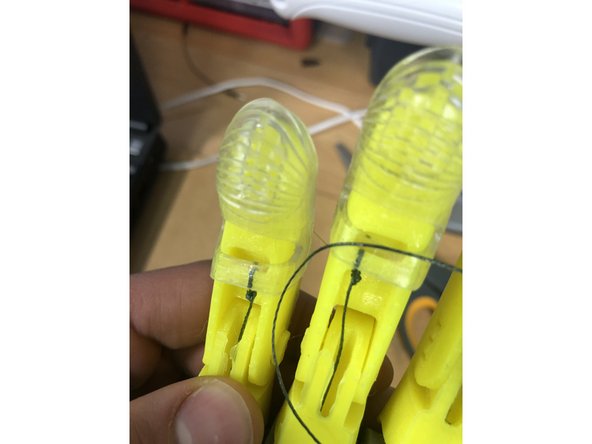
First, tie the string to the ring finger. The, slide it through the grooves until you get to the palm, then slide it through to the other side, then slide the string through the hand to the tensioner and pull it through back up the hand in the same way, and tie it off at the ring finger. (Repeat for middle finger and pointer finger)
-
Tie off a string at the thumb and slide it in the same way as the other fingers.
-
-
-
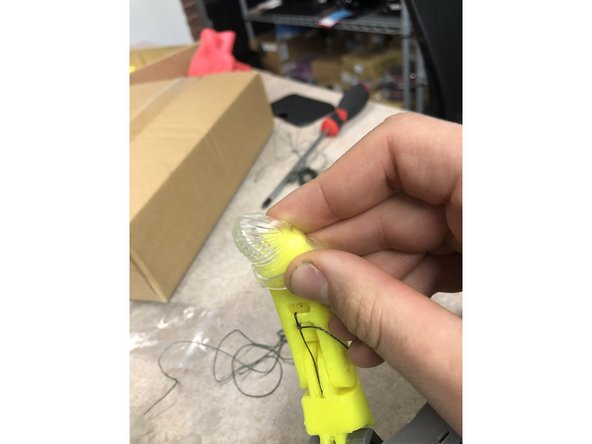
Take the Gel Grip Fingertips from the Phoenix assembly kit, and put them on each finger (all same size, all will fit).
-
-
-
Add on the two smaller weight blocks onto the gauntlet, you have a choice if you want to put the water filled ones (Q) on, or the solid PLA ones (S).
-
Then slide the larger weight onto the back of the hand until you hear a click (T) or (U).
-
If you chose to use the water weights, cap them off with the caps (R).
-


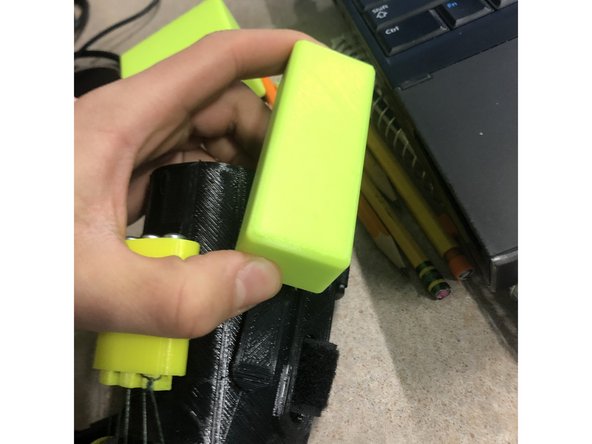

Note for the ending: either the water weights or solid weights can be used, it is preference.
Note for the ending: either the water weights or solid weights can be used, it is preference.