Difficulty
Moderate
Steps
16
Time Required
00:30:00

User-Contributed Guide
This guide is not managed by the site's staff.
Quiz
0
Introduction
This guide is intended for makerlab members who want to contribute to the Zumo automation project. The software that will be installed is Arduino IDE to program robot and github desktop to handle editing the project.
-
-
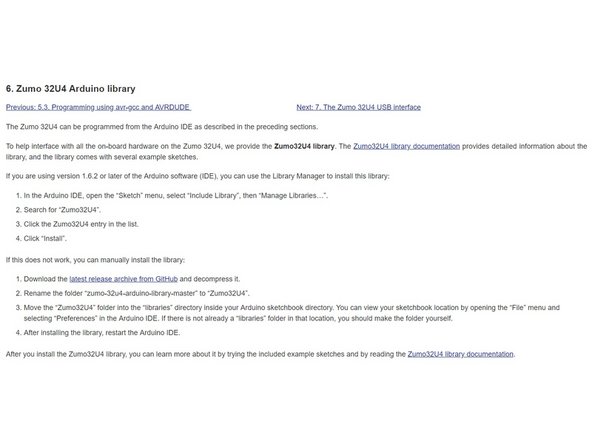
Go to https://www.pololu.com/docs/0J63/5.2 to download arduino and configure it to work with the ZUMO32U4 robot
-
This will give you an integrated development enviornment to write programs, compile them, and download them to the ZUMO32U4 robot
-
-
-
Go to arduino-->preferences to reach this window
-
First, click to show verbose output under compilation and upload. This gives us more information about what's going in in case the code doesn't compile or the download doesn't work
-
Finally, note the sketchbook location. This is where arduino looks for its code database and where it saves projects to. The folder contains a subfolder called libraries, which is where the project will go.
-
-
-
Go to https://www.pololu.com/docs/0J63/6 and follow the guide there to install pololus' library, which our code needs to actually get the robot's sensor values and tell it to move
-
-
-
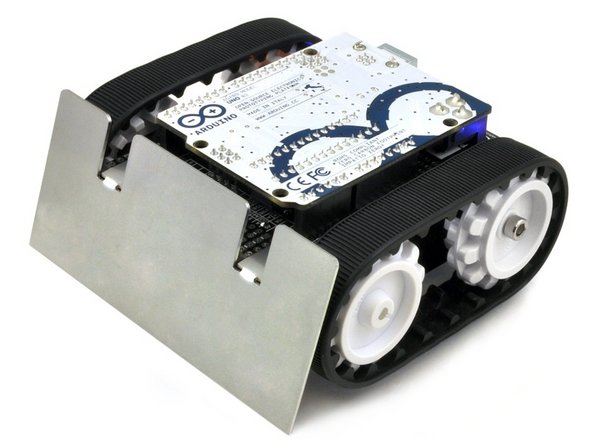
The other robot our project uses is the Zumo shield for arduino
-
Go to https://www.pololu.com/docs/0J57/6 and follow the instructions to install the Zumo Shield library
-
-
-
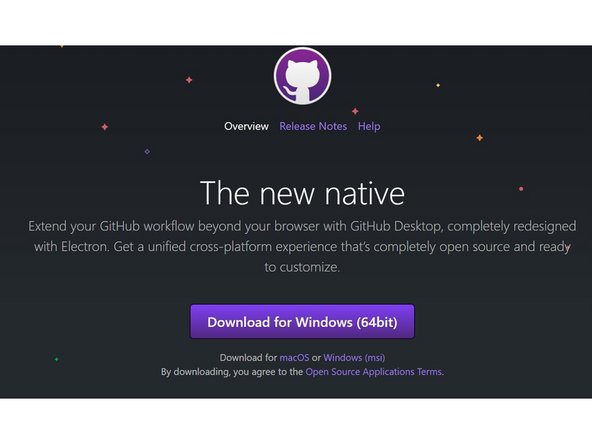
Github Desktop allows us to edit the Zumo automation project together, and all changes can be updated to everyone else's copy
-
Go to https://desktop.github.com/ and download github desktop
-
-
-
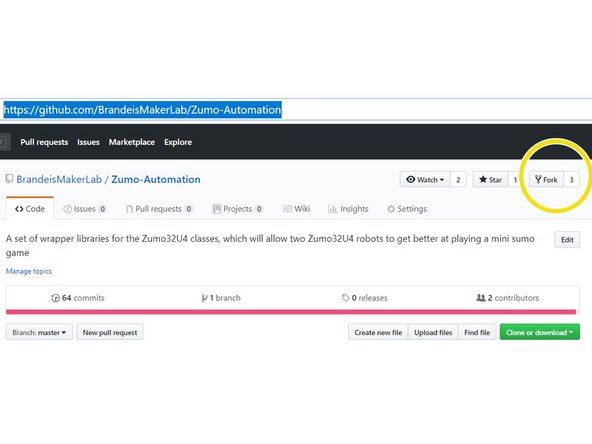
Log in to github.com, if you don't have an account, create one
-
-
Click the box that says fork to create your own copy of the project
-
-
-
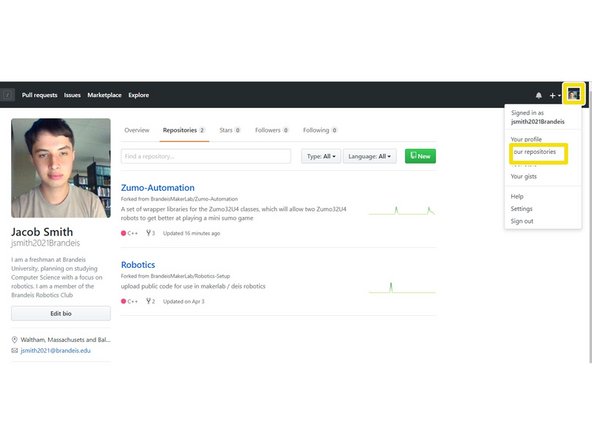
Whenever you are signed in to github online, you can click on your profile picture and then repositories to see the repositories you own
-
Notice that your copy of Zumo-automation is present, click on it
-
-
-
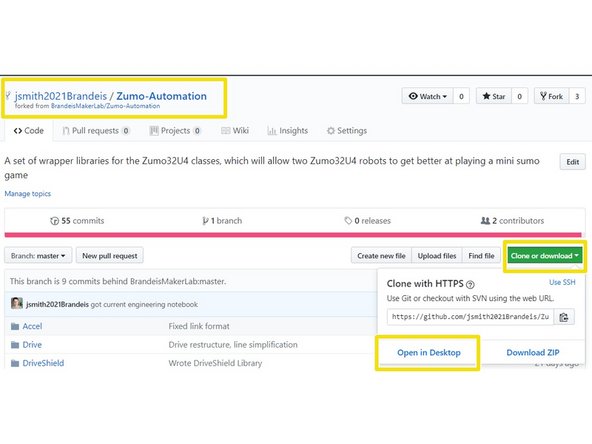
In your forked copy of the project, click clone or download, then open in github desktop.
-
This creates a copy of the Zumo automation project on your computer, which can be updated to the central location on github.com by an administrator
-
-
-
In the window that pops up, the first box will be filled in.
-
The second box is where the project will be stored on your computer. Make it the library folder of arduino. for me, it would be C:\Users\jsmit\Documents\Arduino\libraries
-
But you can check in arduino--> preferences as in at beginning of tutorial
-
Now, we have an active zumo project that can be updated to github easily!
-
-
-
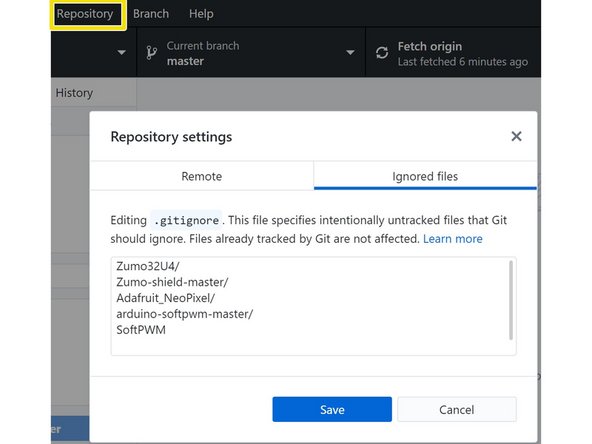
In order to stop github from uploading those files, click repositories in github desktop -->settings-->ignored files, and add the filenames of anything you don't want to be part of the github project
-
-
-
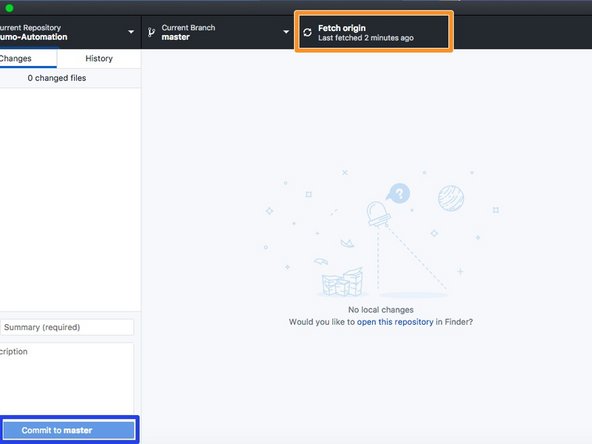
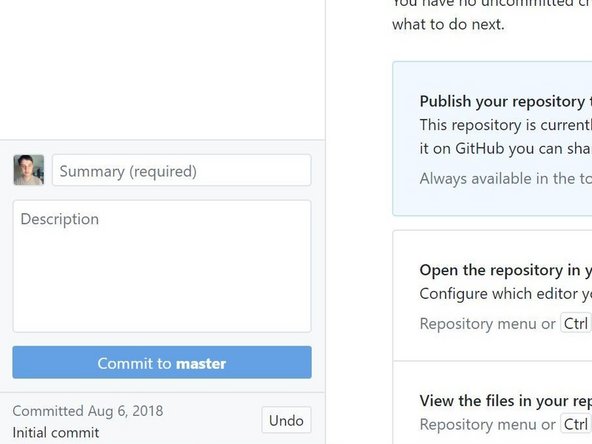
This is what the github desktop window looks like once you have imported a project. Any changes you make to the libraries folder will now be shown on the left, and you can commit them with the blue commit to master button
-
Then, you can push changes to your copy of the project online with the orange button, which will allow you to push changes if there are any
-
-
-
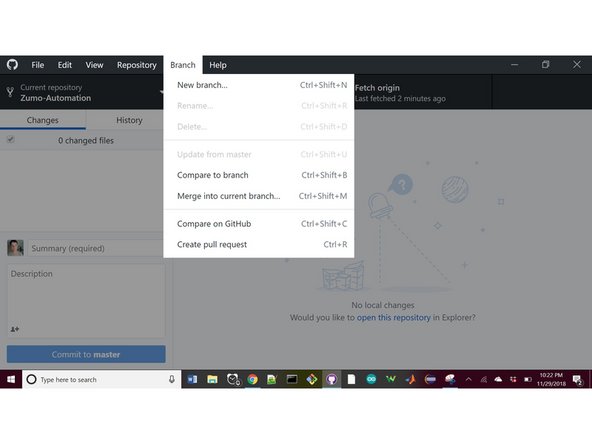
When you want your project changes to be updated to the main project, click branch--> create pull request in github desktop
-
This will take you to github.com (makre sure you are signed in), where you can click to create the pull request
-
Then, an administrator will review your pull request and merge it into the main project if we like it!
-
-
-
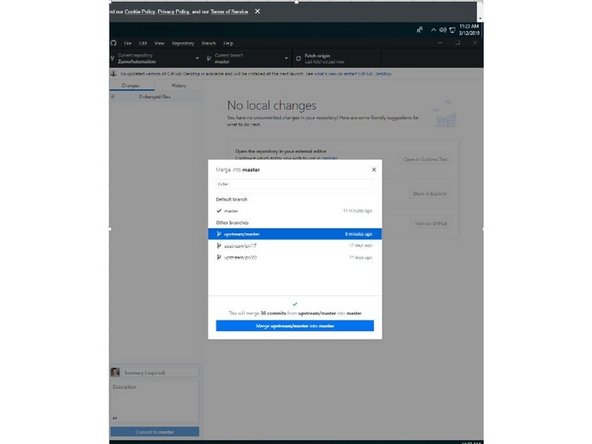
With multiple people contributing to the master project, you need to sync your forked copy with the project
-
"To sync the master of your fork to the master of the original repository using GitHub Desktop: Click on the 'current branch' tab and first select 'master' as the current branch (if it's not already selected). Click on the 'fetch origin' button.
-
Click on the 'current branch' tab again and click the 'choose a branch to merge into master' button at the bottom. *NOTE: Looking down this list, you will find 2 entries for every branch. Those that are prefixed with origin/ are the branches in your fork, and those prefixed with upstream/ are those in the original repository on GitHub.
-
Select upstream/master from this list, and this pull the changes down from the master repository to bring your local clone up to date. Once you local clone has finished pulling the updates from the master repo, push these new changes to your fork, stored on GitHub, using the push origin button on GitHub desktop."
-
Quoted from: https://stackoverflow.com/questions/4611... March 12 2019
-
-
-
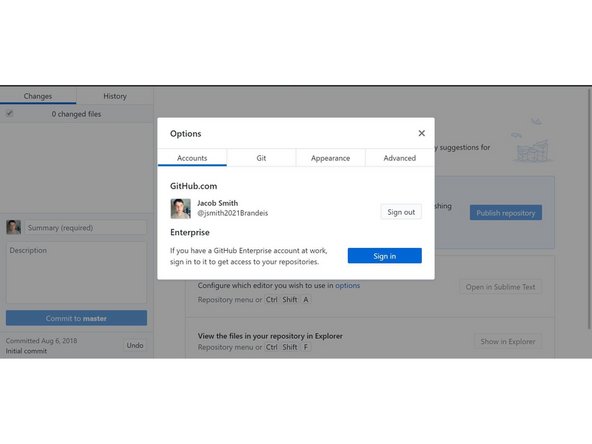
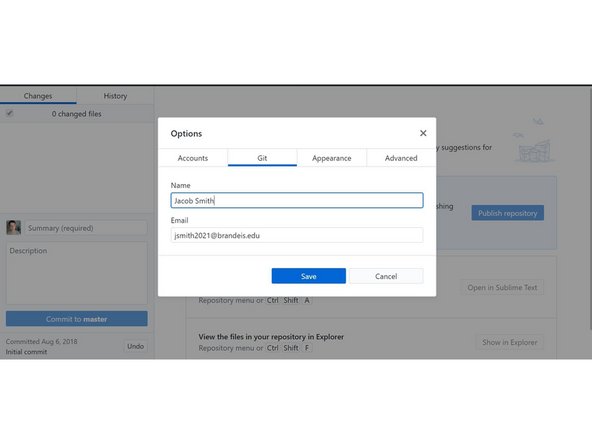
To sign in and out o github desktop, go to file --> options
-
In the Accounts Tab, enter your github account information
-
In the Git Tab, also enter your account information
-
See the explanation of why signing in and out is complicated
-
-
-
To edit Readme files in github, we use Typora
-
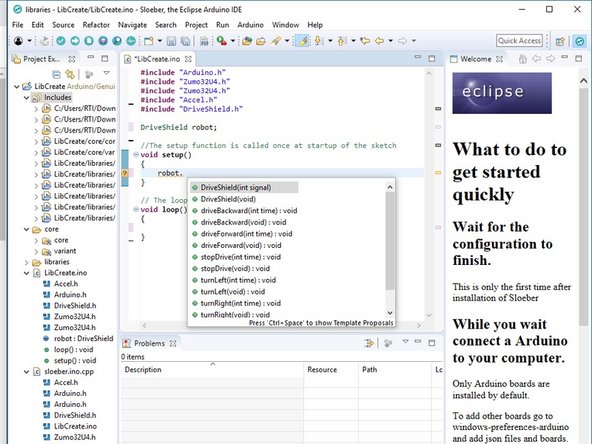
To write background libraries, we use Sloeber
-
-
Above tutorial has pictures, but to be able to access libraries, you need to click windows->preferences and click on Arduino
-
Also, the private library path window had slashes wrong for windows, so add the path yourself
-
The advantage of this software is you can set multiple source folders to store libraries, so you can have multiple github projects.
-